

A scratch on a wood table, dresser, or cabinet often looks worse than it is. Many light marks can be concealed at home. The safest fix depends on how deep the scratch is and what finish protects the wood.
Start with cleaning and a hidden-area test. Use a color-matched touch-up marker when the scratch has removed color but has not cut deeply into the wood. Use a wax fill stick for a narrow groove that catches your fingernail. Stop and call a furniture repair specialist if the damage crosses veneer, exposes a large area of bare wood, or affects a valuable antique or high-gloss finish.
Do not sand the spot or coat it with a random kitchen oil. Those shortcuts can turn a small mark into a larger patch with the wrong color or sheen.
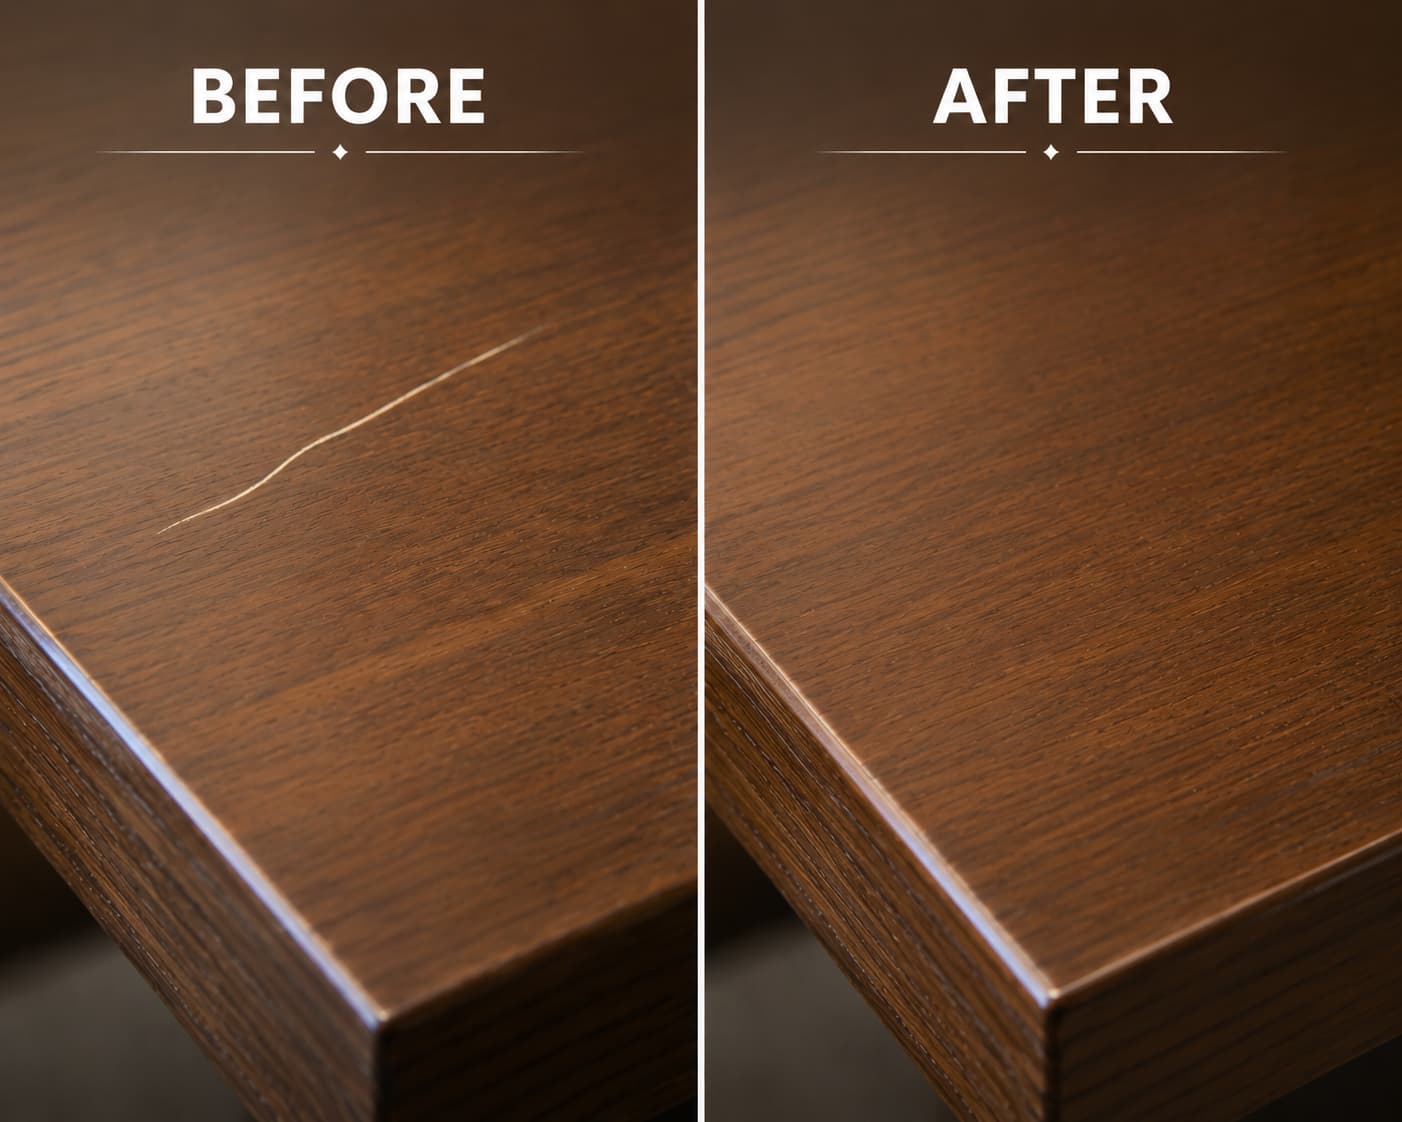
Choose the Right Fix for the Scratch
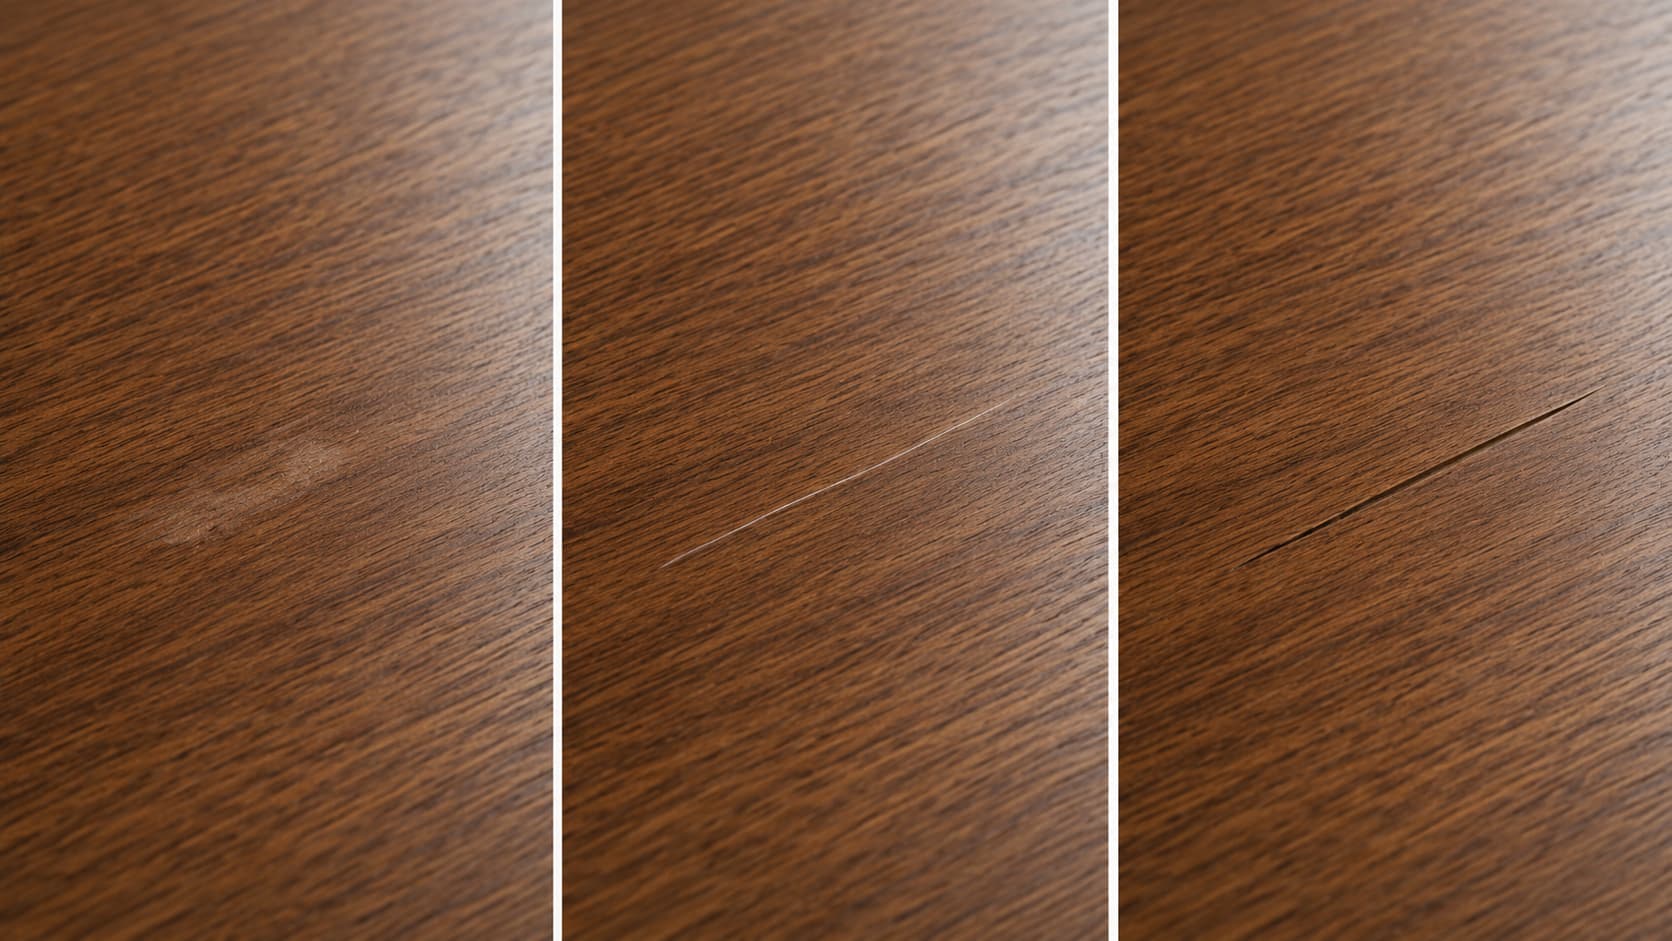
Run a clean fingernail lightly across the mark. Then look at it from the side under good light.
| What you see | Likely damage | Safest first move |
|---|---|---|
| Gray streak or residue that does not catch a nail | Transfer mark or surface scuff | Clean with a finish-safe cleaner |
| Thin light line with no groove | Color loss in the finish | Use a color-matched touch-up marker |
| Narrow groove that catches a nail | Finish and wood are damaged | Fill with a matching wax pencil or putty stick |
| Wide gouge, chip, lifted veneer, or splinter | Structural surface damage | Save loose pieces and use a professional |
| Cloudy or white line in a glossy clear coat | Clear finish may be fractured or abraded | Ask the maker or a refinisher about the coating |
A marker or scratch cover usually conceals damage; it does not rebuild missing wood. A filler can level a small groove, but the color and sheen may still look different at some angles.
Before You Touch the Scratch
Check the maker’s care instructions
The same walnut color can sit under lacquer, polyurethane, oil, wax, or another coating. Each finish reacts differently. Find the product page, care card, order receipt, or label before choosing a cleaner or repair product.
This matters most with expensive furniture. For example, Room & Board gives different care steps for lacquered surfaces and oiled wood. Its wood and veneer care guide also says to avoid ammonia, alcohol, and petroleum cleaners on several coated finishes.
If the piece is still covered by a warranty or protection plan, contact the seller first. An unapproved repair may affect your claim.
Test every product in a hidden area
Try the cleaner, marker, wax, or polish on the underside of a shelf or another concealed spot. Let it dry fully, then check the color and sheen in daylight. A wet touch-up can look darker than the final result.
Minwax also recommends testing color on an inconspicuous area before treating the visible surface. Its wood-repair guidance warns that a clear touch-up may not match the gloss of the old finish.
Gather a small repair kit
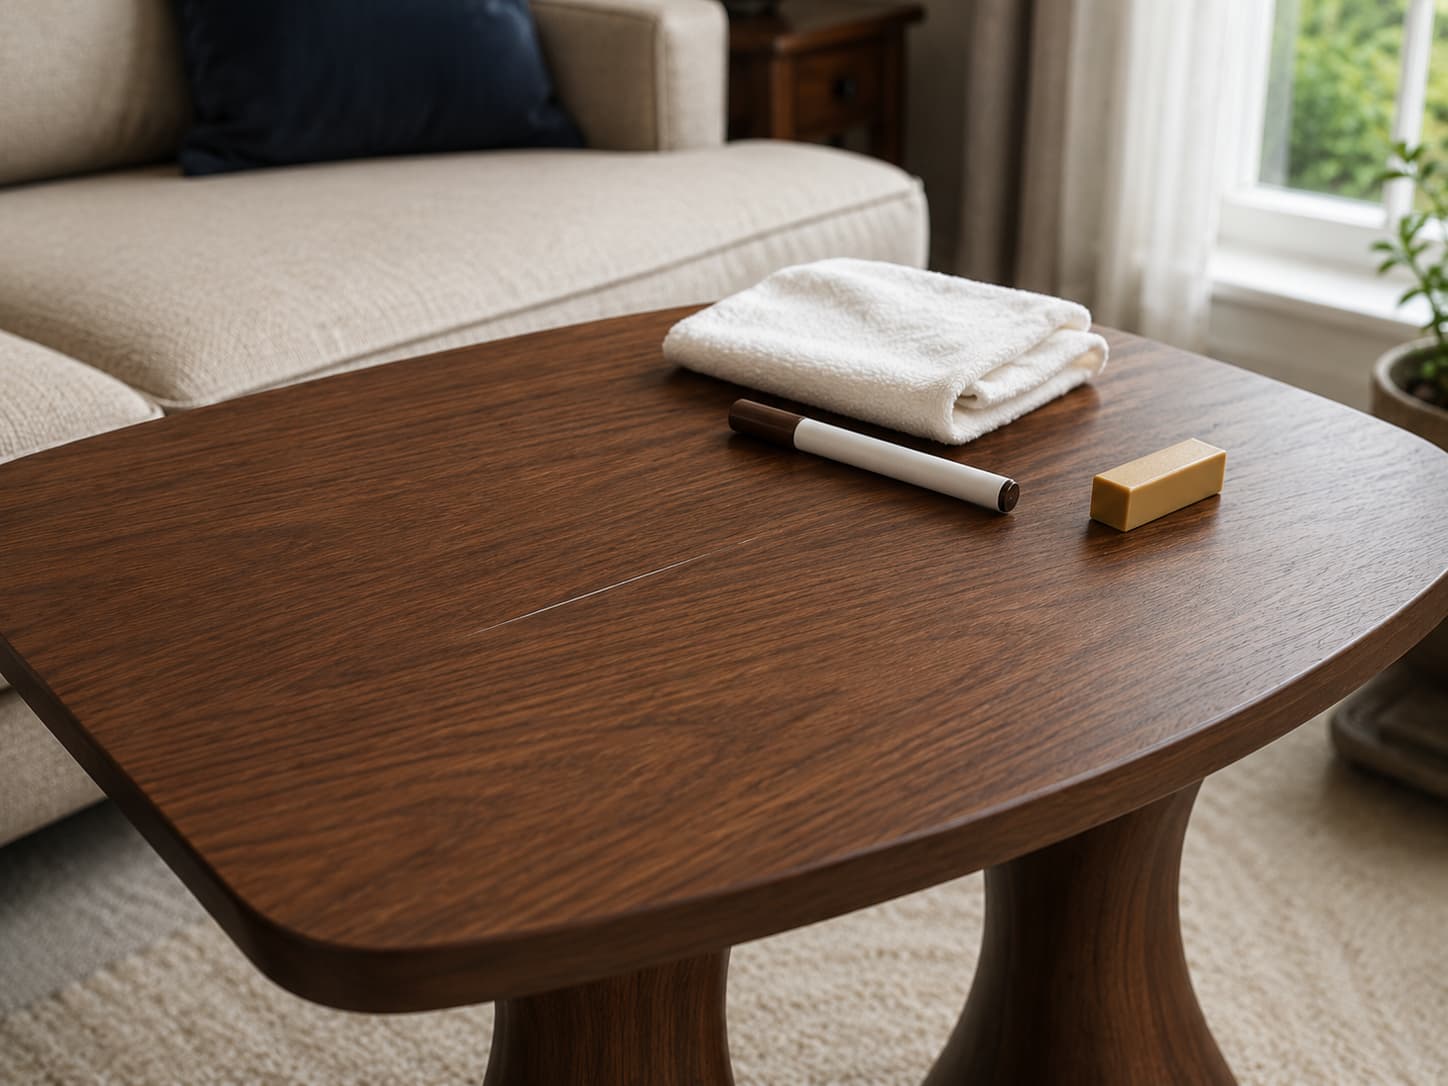
For most minor scratches, you need:
- Two clean, white microfiber cloths
- Mild dish soap or the maker’s approved wood cleaner
- Cotton swabs
- A color-matched wood touch-up marker
- A wax fill pencil or putty stick for deeper lines
- A plastic leveling card or the tool supplied with the filler
- Painter’s tape for protecting nearby edges
White cloths make it easier to see lifted dirt or color transfer. Avoid rough paper towels, abrasive pads, and metal scrapers.
How to Fix Scratches on Wood Furniture Step by Step
1. Clean the mark first
Dust the whole area with a dry microfiber cloth. If the maker permits damp cleaning, mix a drop of mild dish soap into a cup of water. Dampen a second cloth, wring it out well, and wipe with the grain. Follow with a dry cloth.
Do not soak the wood or leave water around joints and veneer edges. Wait until the surface is fully dry before deciding whether the mark is a scratch. Some dark streaks are rubber, paint, or grime sitting on top of the finish.
2. Recheck the depth
Look across the surface, not straight down at it. If the mark vanished after cleaning, stop. If a pale line remains but your fingernail does not catch, treat it as color loss. If the nail catches, the repair needs filler.
Do not press hard during this test. The goal is to classify the damage, not make the groove larger.
3. Conceal a light scratch with a touch-up marker
Choose a marker that is slightly lighter than the surrounding finish. You can deepen a light repair in thin layers, but removing a dark stripe is harder.
- Shake or prepare the marker as its label directs.
- Touch the marker to the scratch, not the surrounding finish.
- Work in short strokes that follow the grain.
- Wipe the edges at once with a clean cloth.
- Let the color dry, then add another thin pass if needed.
Keep the first coat narrow. Real wood has several tones, so a good match may require a lighter base and a few darker grain lines.
Repair-marker makers describe these products as a way to restore color in minor scratches and nicks. They are not fillers for missing material. Minwax separates minor color repair from deeper damage. Guardsman recommends markers for light scratches and filler sticks for damage that needs filling, as explained in its dining-table care guidance.
4. Fill a narrow groove with a wax pencil or putty stick
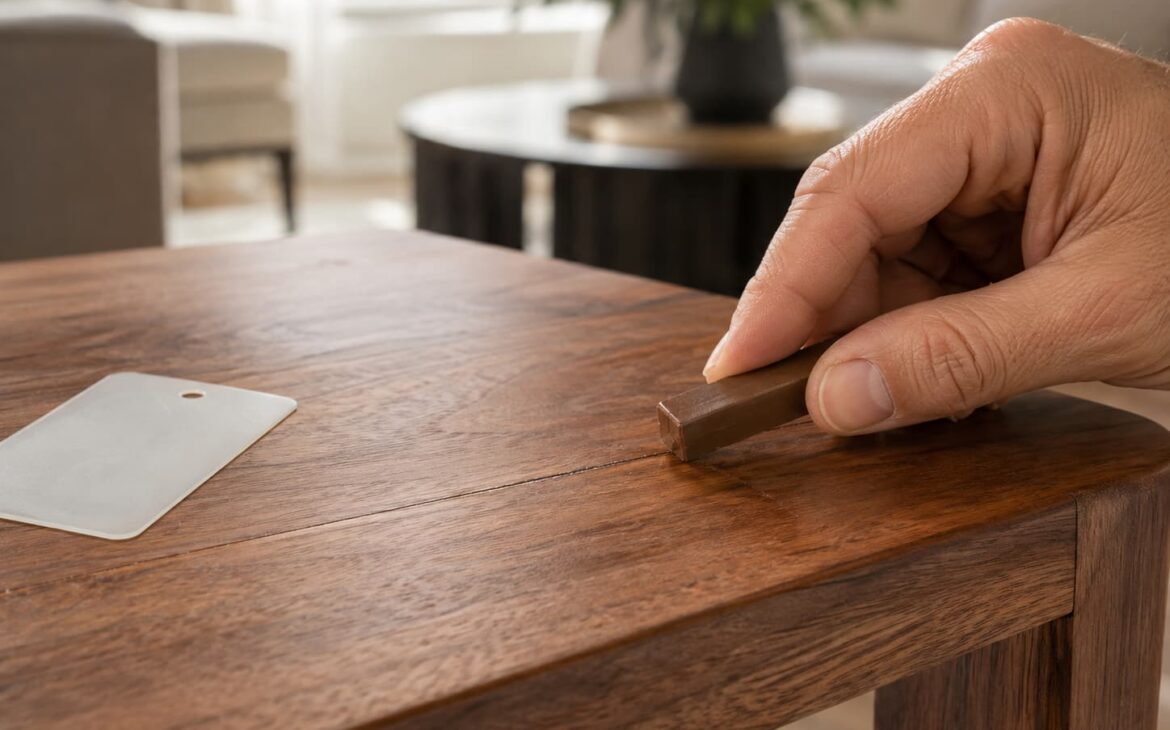
Use this method when the scratch catches your nail but remains small and contained.
- Pick a filler close to the lightest tone inside the damaged area.
- Rub the wax or putty across the groove until it is slightly overfilled.
- Level the excess with the supplied plastic tool or a clean plastic card.
- Wipe around the repair without pulling filler from the groove.
- Add fine grain lines with a compatible marker if the flat patch stands out.
- Buff only as the product label directs.
Avoid a metal putty knife. It can add new scratches. Do not spread filler over a large undamaged area, since residue may change the sheen.
Commercial systems use the same basic sequence: restore color, fill the recess, and level the excess. Guardsman says its wood filler sticks are intended for scratches and gouges that extend beyond the finish.
5. Treat an oiled or oil-and-wax finish only as directed
An oiled surface may allow a small scratch to blend during routine maintenance. That does not mean furniture oil is safe for every wood piece.
Confirm that the furniture has an oil or oil-and-wax finish. Then use the exact oil, wax, pad, and timing named by the maker. Treat the full logical surface, such as the entire tabletop, when the instructions call for it. Spot oiling can leave a halo.
Herman Miller’s wood and veneer care instructions separate coated veneer from specific oiled veneers. The company says oil should be used only on the named oiled surfaces and only when the wood looks dry. That is a good reason not to guess.
If you use a drying oil, handle the cloths as a fire risk. The Seattle Fire Department warns that piled oily rags can heat up as they dry. Follow the product label and local disposal rules. Never leave oily cloths crumpled in a trash can.
6. Stop when the repair needs finish work
Clear coats have a sheen as well as a color. A spot repair on satin lacquer may dry glossier or flatter than the rest of the tabletop. High-gloss and piano finishes show these differences most clearly.
Contact the maker or a furniture refinisher when:
- A gouge is wider than a thin line
- Veneer is chipped, loose, or sanded through
- The surface is high-gloss, ebonized, cerused, gilded, or painted
- The piece is antique, collectible, or custom finished
- A previous repair feels sticky or looks cloudy
- The scratch crosses an inlay, edge, joint, or decorative detail
- You cannot identify the finish
A professional can mix color, rebuild missing material, and adjust sheen across a larger area. That is often less risky than repeated DIY attempts.
Read our How to Fix a Peeling Faux Leather Sofa: A Step-by-Step Repair Guide
Why Common Home Remedies Can Backfire

Walnuts may darken a line, but they do not repair the finish
Rubbing a walnut kernel over a scratch can deposit oil and fine particles. This may make a pale line less visible on some dark woods. The effect is closer to temporary camouflage than a controlled repair.
The color is hard to predict, the oil can interfere with a later coating, and nuts create an avoidable allergy concern. Use a tested repair marker when you want repeatable color.
Olive oil and vinegar are not a universal wood treatment
Kitchen oil does not cure into a furniture finish. It can stay greasy, collect dust, and complicate a later repair. Vinegar is acidic, and the mixture was not designed for your furniture’s coating.
Use only a cleaner or maintenance oil approved for the exact finish. For a broader maintenance routine, see our furniture care guide.
Toothpaste and baking soda are abrasives
An abrasive may reduce one mark while dulling the larger area around it. The result can be a pale patch that is more visible than the original scratch. Avoid these methods on finished furniture.
Steam fixes dents, not missing finish
Steam can sometimes swell crushed bare wood fibers. A scratch is different: it may cut through color and clear coat. Heat and moisture can cloud a finish, loosen veneer, or open a glued joint. Do not steam finished or veneered furniture unless a qualified restorer has assessed it.
Sanding one small spot often creates a larger problem
Local sanding can remove stain, flatten the grain, and change the sheen. Veneer may be only a thin decorative wood layer over a core, so aggressive sanding can expose the layer below. Even official care instructions that allow very fine abrasives limit them to named products and finishes.
How to Match the Color and Sheen
Color matching is easier when you work from light to dark.
- Match the background color first, not the darkest grain line.
- Compare the repair under daylight and the room’s evening light.
- Use several fine strokes instead of one broad stripe.
- Wipe pigment off the intact finish before it dries.
- Let each layer dry before judging it.
- Stop when the scratch no longer draws your eye from a normal viewing distance.
Do not expect the repair to vanish in every light. A good touch-up blends with the movement of the grain and avoids a flat, painted-looking line.
Sheen can be harder than color. If the repaired spot has the right tone but flashes under side light, do not keep adding pigment. The mismatch is likely in the clear finish. A refinisher can adjust a wider area so the gloss changes gradually.
Special Cases
Wood veneer
Treat veneer as a thin surface, even when the furniture feels solid. Avoid spot sanding unless the manufacturer gives exact instructions for that model and finish. Save any loose chip in a clean envelope for a repair specialist.
Laminate or printed wood-look surfaces
Laminate does not absorb stain like bare wood. Use a repair marker or filler labeled for laminate and test adhesion first. Do not use wood stain and expect it to soak in.
Painted wood
A stain marker will not match opaque paint. Ask the maker for touch-up paint or have the color matched. Apply it with a fine artist’s brush, then stop before the patch grows.
Antique or collectible furniture
Old coatings, patina, and tool marks can carry part of the piece’s value. Cleaning, coloring, or stripping may be irreversible. Photograph the damage and consult a conservator or experienced furniture restorer before applying anything.
Prevent New Scratches
The best repair is a small change in daily use.
- Lift objects instead of sliding them.
- Add clean felt pads under lamps, trays, pottery, and decor.
- Use coasters, placemats, trivets, and a writing pad.
- Dust with a soft cloth before moving objects across the surface.
- Keep gritty soil away from table leaves and extension hardware.
- Replace worn felt pads before the adhesive or hard edge reaches the wood.
- Keep pet nails trimmed and use a washable runner on a high-traffic console.
Room & Board and Herman Miller both recommend protective pads and lifting objects rather than dragging them. Small barriers protect the finish without changing how the furniture looks.
Frequently Asked Questions
Can a scratch be removed completely?
A surface transfer mark may clean off completely. A scratch that removed color can often be concealed. A groove with missing wood must be filled, and a deep or glossy repair may remain visible under side light.
What is the quickest safe fix for a light scratch?
Clean the area, test a color-matched touch-up marker in a hidden spot, and apply thin strokes only inside the scratch. Wipe the edge before it dries.
Should I use steel wool on scratched furniture?
Only if the furniture maker’s instructions name the exact grade for that finish. Steel wool can change sheen, leave fibers, or cut through a thin coating. A microfiber cloth and color-repair product are safer defaults.
How do I fix pet scratches on a wood table or chair?
Use a marker for shallow color loss and a wax filler for narrow grooves. Many overlapping scratches may require the whole surface to be blended or refinished by a professional.
Should I refinish the whole piece?
Not for one small scratch. Consider broader refinishing when damage covers much of the surface, the finish is failing or sticky, or old repairs have created uneven color and sheen. Get professional advice before refinishing veneer, antiques, or valuable furniture.
The Bottom Line
The safest way to fix scratches on wood furniture is to make the smallest repair that matches the damage. Clean first. Use a touch-up marker for color loss, a wax filler for a small groove, and the maker’s approved oil only on a confirmed oiled finish. Leave deep gouges, damaged veneer, antiques, and high-gloss surfaces to a professional.
A careful hidden-area test matters more than any viral shortcut. It protects the finish, keeps the repair small, and gives your furniture the best chance of looking natural again.